How to Dutch braid
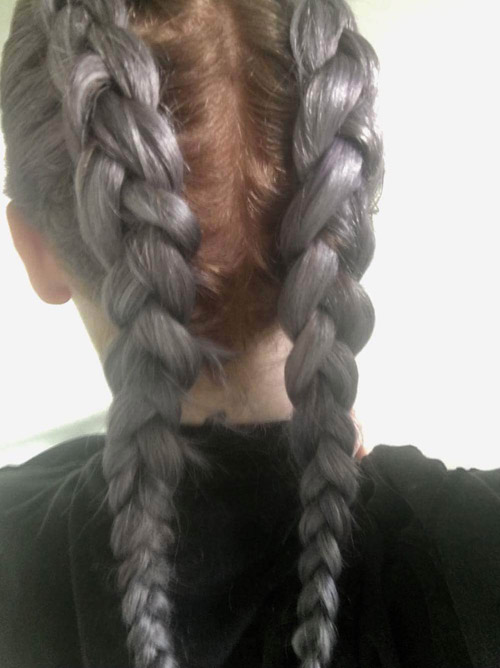
Dutch braids can seem daunting to do yourself but if you know how to do a simple braid it's very easy to learn. The difference between a French and Dutch braid is with Dutch braids, you bring the hair under the middle strand (unlike in French braids you bring it over the middle). So once you learn how to do one, you can do the other. To create Dutch braids you will need:
- A brush and comb
- Some elastic hair bands, I prefer to use clear ones on everyone so they don't clash with any hair colours
- Serum or oil based product to make hair feel sleek and smooth
- Two mirrors (This is optional to see if the back looks straight)
1. Grab a pea sized amount of hair oil/serum and run through your hair and brush out any knots.

2. Grab your comb and centre it at the front of your hairline, drag the comb all the way to the nape of your neck sectioning off your hair into two even sections and clip/tie one section to the side. I would suggest checking with a mirror that both sides are even and there's no stray hairs crossing over.
3. With Dutch braids,be as accurate as you can and use even sections. So to start off, the easiest way I find to do this is placing my two hands directly over my head and working back, rather than working with your hands to the side of your head. This way you get your braid running straight down the back and not leaning off to any sides.
4. Pick a small section from the front of your hair and section it into three pieces and remember try be as even as you can.
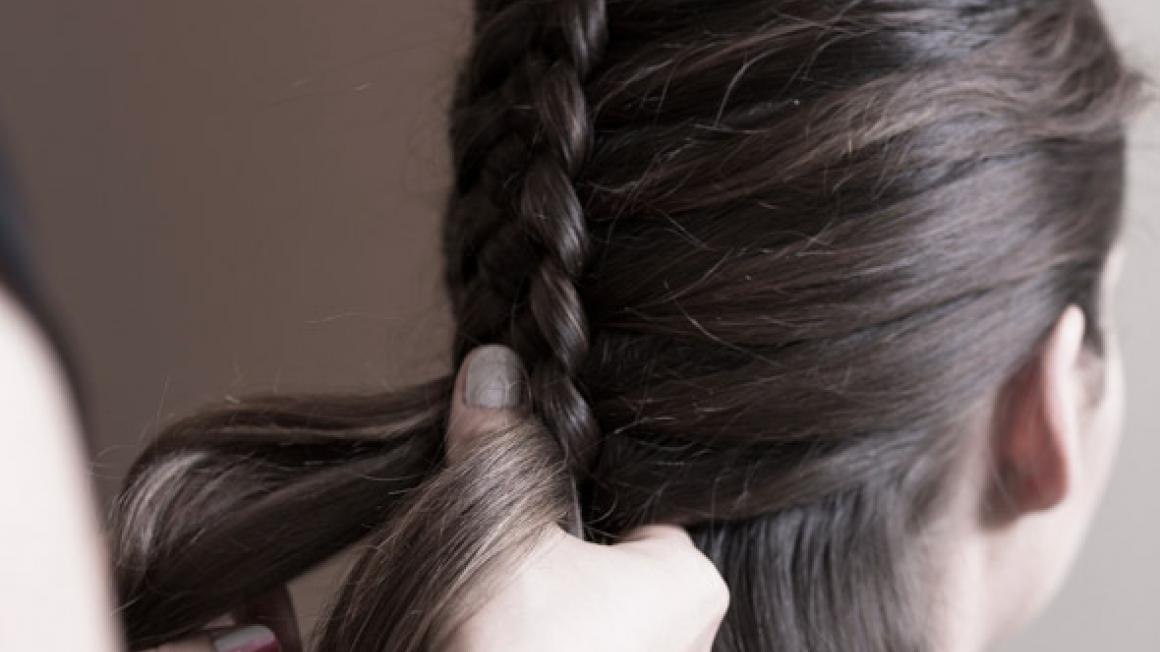
5. For the first one, you bring the left piece under the middle piece, then the right piece under the (current) middle piece, making sure you are pulling each strand very tight.
6. On the next go, you add a few extra strands of hair to the left piece and bring it under the middle, do the same with the right and continue adding extra hair to each piece as you bring it under the middle. The more careful and accurate you are about this the better your braid will be.
7. You can determine the size of your braid by how much hair you pick up from each side. Continue this until you reach the nape of your neck and then once you reached that area you can braid normally as you've run out of hairs to add.
8. I would suggest bringing your braid towards the other side of your head when finishing it off just to keep the braid straight.
9. When braiding the left side and you finish at the nape, braid the hair towards the right side of your head, keeping as tight as possible.
10. Once you've reached the end tie with an elastic (I always use two to keep secure) and finish off the other section!
Spray hairspray on a comb and comb in any stray baby hairs. Watch yourself braid with a mirror behind and in front of you so you can see exactly what you're doing as you learn. Once you get the rhythm of what you're doing it becomes simple!


