

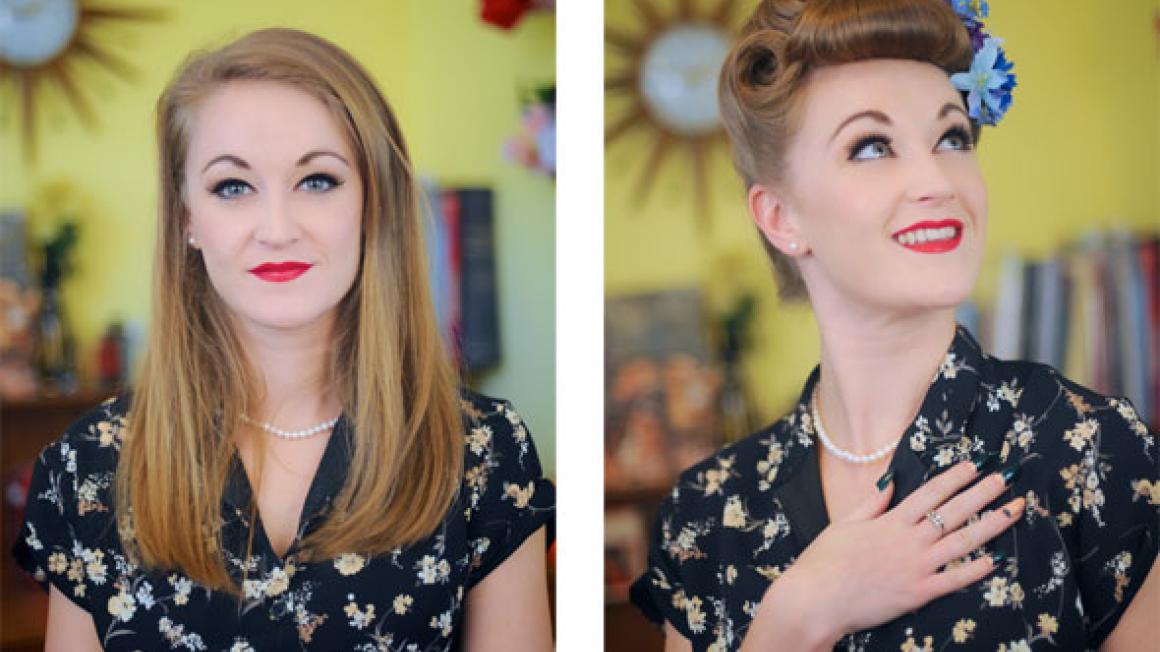
How to Create Classic 1940s Look
 Vintage hair styling requires several things; patience, nimble fingers and a few select styling products. In my line of work as a freelance vintage hair stylist, make-up artist and owner of Sarah's Doo-Wop Dos, I regularly create many different looks from different eras for my customers, so the tips I'm sharing in this article are thoroughly tried and tested!
The hair of the 1940s was born out of practicality. During the war years shampoo was in short supply so hair was often worn up to keep it looking fashionable. It was also safer for the women working around dangerous machinery in the factories.
Step 1
Start by creating a decent sized middle section of hair and pull it into a high ponytail and backcomb with a rat-tail comb to create lots of body. Hair in the 1940s was often styled around rats; these where padding made from old stockings and filled with hair from your hairbrush! Hair could then be wrapped around the padding and secured in place for a fuller look.
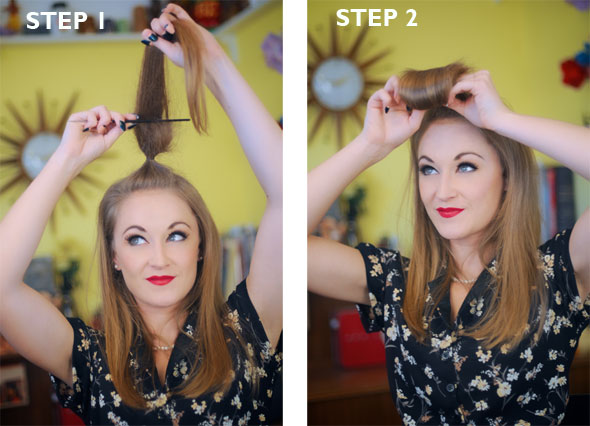
Step 2
Smooth the top of the ponytail section with a soft bristled brush and some pomade. This will give a neater look to the finished style. Roll the section tightly in a forward direction and secure it in place with hair grips. During the war years clients would often bring their own supply of hair grips to the hairdressers as metal was in short supply due to the war effort.
Step 3
Take a side section (in line with the middle one) and backcomb it at the roots so it has some hold, then using two fingers roll it into a small, neat victory roll.
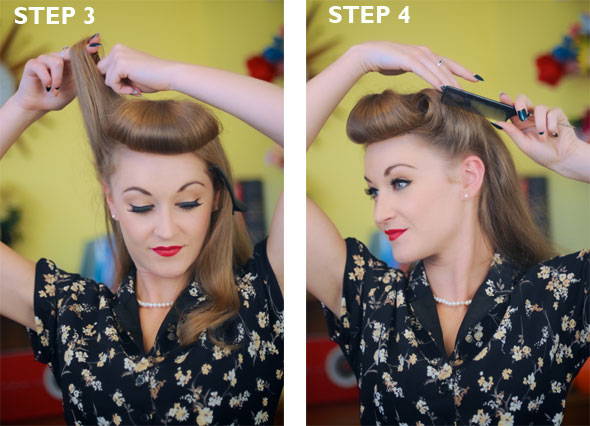
Step 4
Repeat this on the other side, making sure both rolls are secured in place with grips. Tidy them up with a comb and some hairspray. Women in the 1940s would have had to style without the modern luxury of hairspray as this didn't come along until the 1950s. Products like setting lotion and even sugar water were often used to hold a style in place.
Step 5
Take the rest of the hair and brush it up into a high ponytail so the back of the hair is completely smooth. Secure it up with a line of grips.
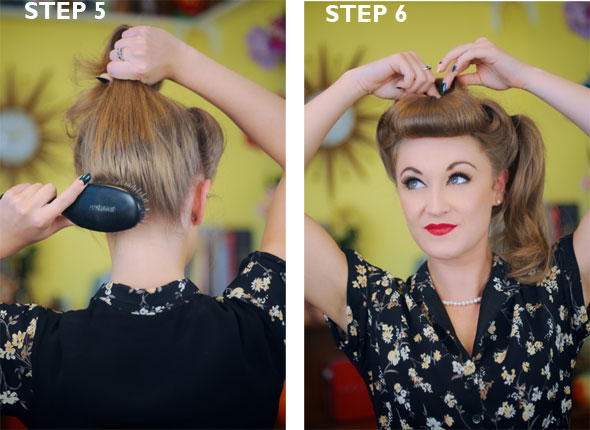
Step 6
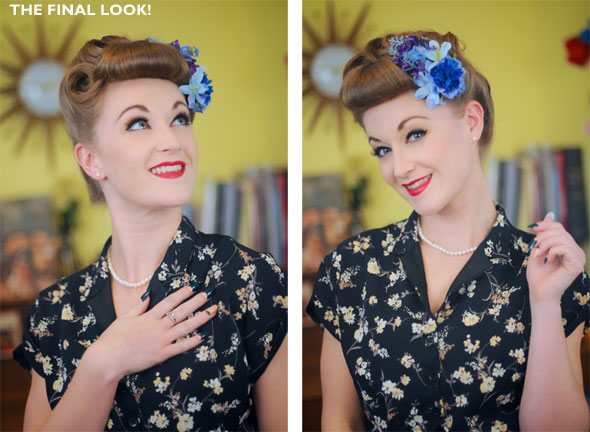
Finish the style by arranging the rest of the hair into a pile of curls on top of the head just behind the fringe and finish with an accessory. Haberdashery items like ribbon and silk flowers were all popular for dressing hair at the time.
Credits
Article, hair and make-up: Sarah Dunn, owner of Sarah's Doo-Wop Dos www.doowopdos.co.uk
Model: Julie, My Favourite Things
Photography: Jez Brown www.facebook.com/jezbrownphotography