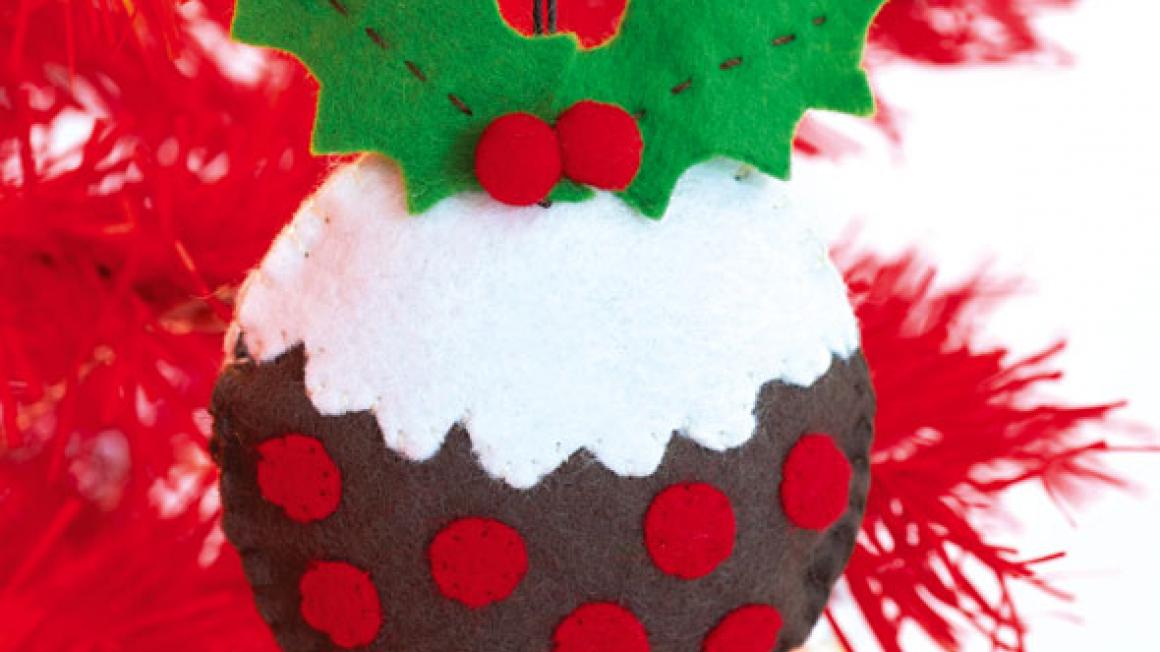
Stitch your own pudding
In my new book, I have designed 12 hanging ornaments that are made from easy-to-sew felt and can be stitched together by sewers of all ages. The book also contains the essential materials required to make up the 12 decorations. All you need to add is a basic sewing kit of needles and scissors, plus a small amount of toy stuffing, widely available at haberdashers, department stores and online. Here is one of the easy-to-make decorations – a beautiful felt Christmas pudding.
As well as looking festive on the tree, these felt ornaments can be used in all sorts of ways. Try adding them when wrapping a gift, or strung along a length of ribbon and draped as a garland, or box them as a gift. However you use them, have fun.
Make Your Own Christmas Decorations by Cath Kidston, with photography by Claire Richardson, is published by Quadrille, priced £15.
CHRISTMAS PUDDING
You will need:- Brown, cream, red and green felt
- Brown, cream and red embroidery thread
- Two red pompoms
- 12cm length brown waxed cord
- Paper templates
- Air-erasable pen
- Sewing needle
- Scissors
- Polyester toy stuffing
- Paper templates (see below)

STEP ONE Assemble all the materials, equipment and templates you need.
STEP TWO Using an air-erasable pen, trace the outline of each paper template on to the correct colour felt.
STEP THREE Following the outlines carefully, cut out all the felt shapes you need.
STEP FOUR Place the cream shaped semi-circles over the brown circles and work small edging stitches along the bottom edge with cream thread.

STEP FIVE Place 8 small red circles over each of the visible brown circles and work small edging stitches all the way round in red thread.
STEP SIX Along the length of each green holly leaf, work a line of running stitch down the centre in brown thread.
STEP SEVEN Stitch both holly leaves to the top of one side of the pudding, with tips of leaves overlapping. Add the red pompoms where the holly leaves meet.
STEP EIGHT Place both sides of the pudding together and work edging stitches all the way round in brown and cream thread. Leave a gap at the top.

STEP NINE Fill the pudding with toy stuffing, but do not overfill. Use the rounded end of a pencil to push the stuffing gently into any curves or corners.
STEP TEN Stitch the gap to enclose the stuffing, adding the hanging loop of waxed cord. Knot the cord ends and work extra stitches over it to secure.
CHRISTMAS PUDDING TEMPLATE

Print and then trace around the outlines to make paper templates and use them to cut out the following felt shapes:- Cut 2 large circles (pudding) from brown felt
- Cut 16 small circles (berries) from red felt
- Cut 2 shaped semicircles (sauce), including 1 reversed, from cream felt
- Cut 2 leaves (holly) from green felt


